How to migrate your database from PaaS to Kamal
Guillaume Briday
3 minutes
Slog-app was my latest money-making app still running on a PaaS. It was finally time to make the switch, and here’s how I handled the migration with Kamal.
Following the techniques outlined in our previous post, How to Backup and Upgrade your Database with Kamal, we now have everything in place to migrate from our PaaS to Kamal.
In this post, we’ll tackle the migration of the most crucial component of our application: the database.
While migrating the app or background workers is relatively simple, the database is always the most delicate part of the process.
Thankfully, the migration only requires a few steps.
1. Deploy your app on a new VPS
As outlined in previous blog posts, the first step is to deploy your application on a new VPS. At this stage, your app should be fully operational, most likely on a temporary domain during the transition.
The database, however, will remain empty for now.
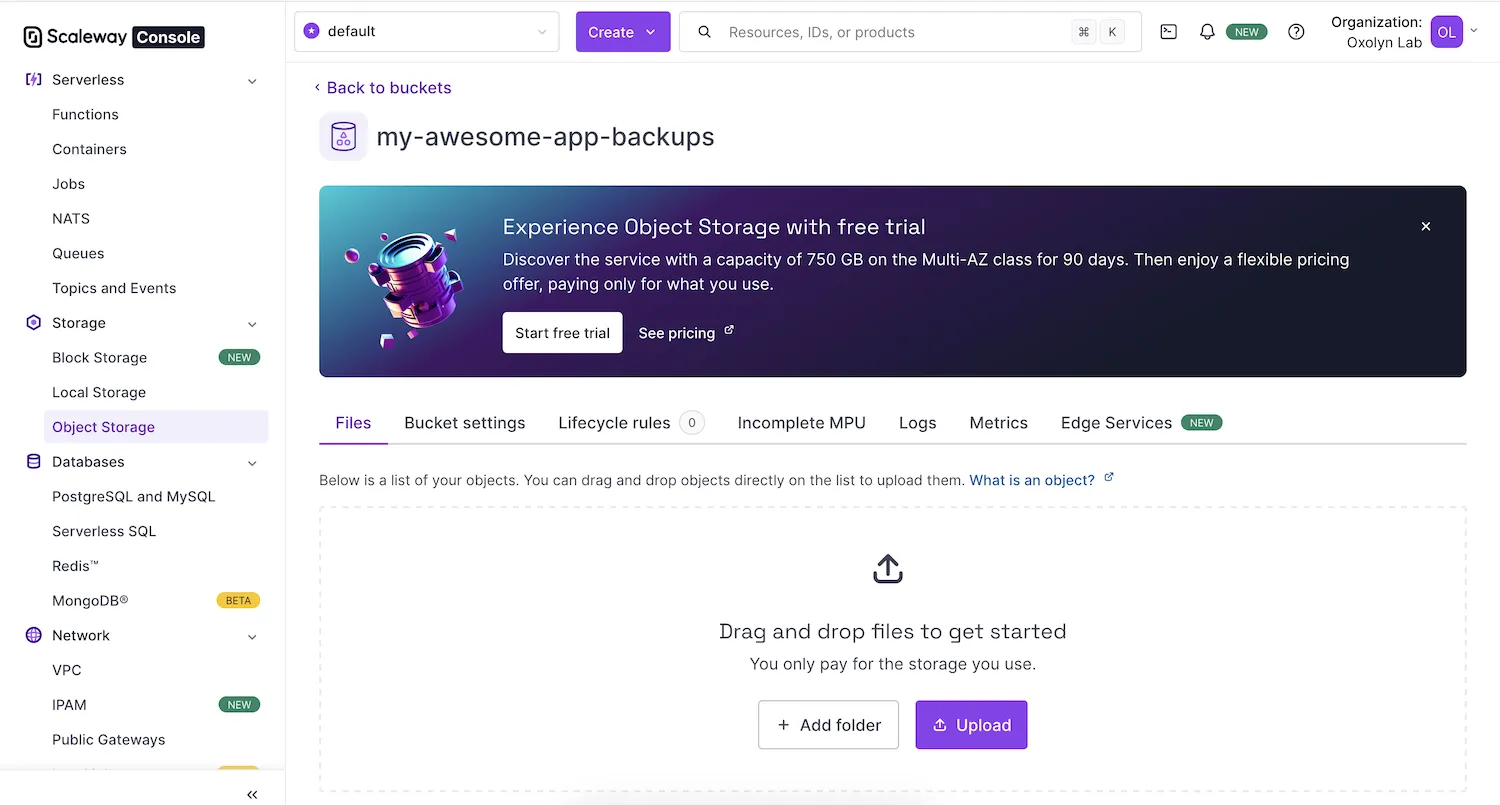
2. Prepare your S3 Bucket
In my setup, I’ll store the dump on Object Storage from Scaleway, which is S3-compatible. But you can use any storage option, even a basic server with rsync. Just make sure it’s not the same machine running your database.
3. Put your app in maintenance mode on your PaaS
Scale down your web containers to 0. This ensures no new writes occur during the migration process, specifically between backing up your database on your PaaS and restoring it on your own server.
4. Create a dump
Regardless of which PaaS you’re using, you’ll need to create a dump of your database, either via the CLI or through the platform’s UI.
Here are the relevant guides for the two PaaS I’m using the most:
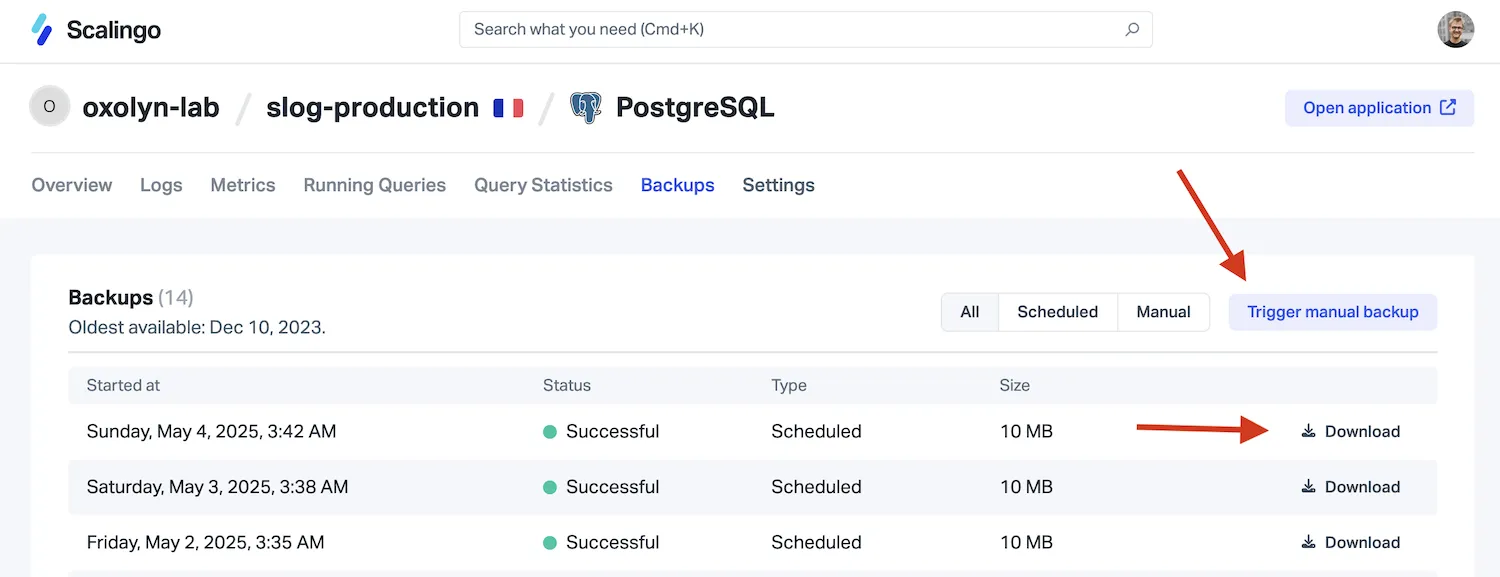
On Scalingo, a simple way is to trigger a manual backup from your PostgreSQL dashboard and download it directly.
5. Upload the dump to your S3 Bucket
Create a folder in your S3 bucket to store the backup. This folder’s name must match the value of the S3_PREFIX environment variable defined in your s3_backup accessory configuration:
accessories:
  # ...
  s3_backup:
    image: eeshugerman/postgres-backup-s3:16
    host: 192.168.0.1
    env:
      clear:
        SCHEDULE: "@daily"
        BACKUP_KEEP_DAYS: 30
        S3_REGION: your-s3-region
        S3_BUCKET: your-s3-bucket
        S3_PREFIX: backups # This is the folder we need to create
        S3_ENDPOINT: https://your-s3-endpoint # optional, for non-AWS S3-compatible storage provider
        POSTGRES_HOST: my_awesome_app-db
        POSTGRES_DATABASE: my_awesome_app_production
        POSTGRES_USER: my_awesome_app
      secret:
        - POSTGRES_PASSWORD
        - S3_ACCESS_KEY_ID
        - S3_SECRET_ACCESS_KEY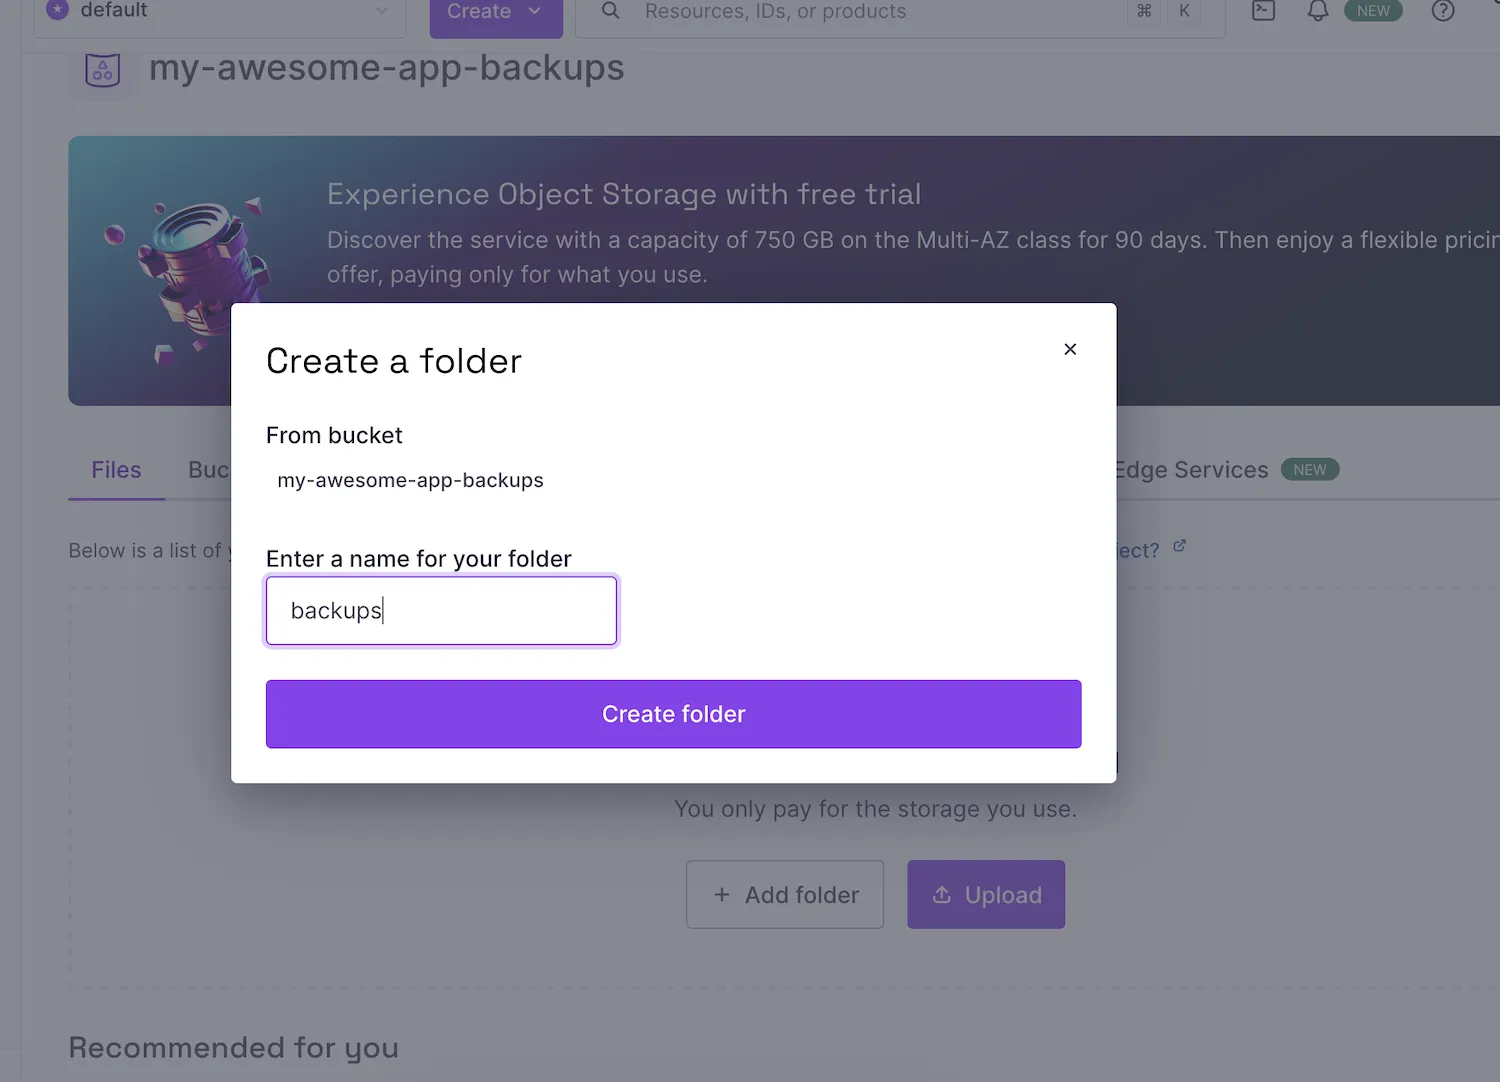
Once the folder is created, simply drag and drop the dump file you generated earlier into it.
6. Restore the database
Now it’s time to restore the backup into your new PostgreSQL instance:
$ kamal accessory exec s3_backup "sh restore.sh"At this point, your application should be running with the latest version of PostgreSQL and all your data successfully restored. 🚀
7. Change your DNS
With your application now fully operational on your own server using Kamal and the migration complete, you can go ahead and update your DNS settings to point to the new server.
Conclusion
And voilà! It’s that simple! You’re now fully migrated and ready to embrace a PaaS-free hosting setup with Kamal!
If you’re looking to migrate to Kamal, I’ve already written several blog posts that can guide you through the process:
- Easy: Perfect for side/small projects: How to deploy Rails with Kamal and SSL certificate on any VPS
- Medium: Perfect for most projects: How to deploy Rails with Kamal, PostgreSQL, Sidekiq and Backups on a single host
- Expert: Perfect for big projects: How to Deploy and Scale your Rails application with Kamal