macOS: Mount a network drive on boot

Guillaume Briday
1 minute
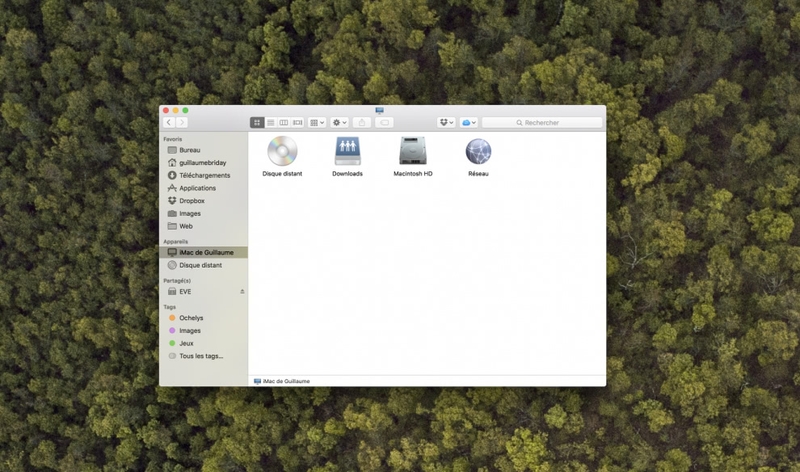
If, like me, you use a network drive (via a NAS, for instance), you might want it to appear in the Finder, just like an external hard drive would, when your computer starts. In this post, I'll use my specific setup as an example, which involves a NAS connected via AFP.
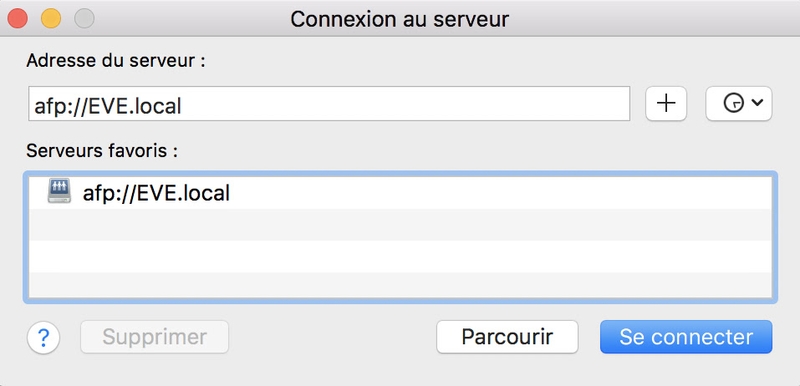
First, connect to your drive the usual way. You can open any Finder window and use the shortcut ⌘ + k to do this.
This window should appear. Enter the server address and your credentials, then click "Connect."
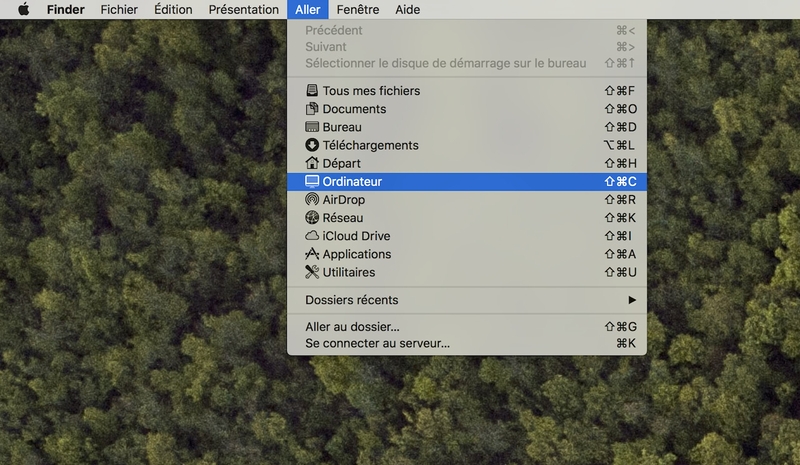
If everything went well, you can now go to your Mac's "Computer" folder using the shortcut ⇧ + ⌘ + c or through the menu link.
Next, open your System Preferences and look for "Login Items."
Simply drag your network drive into this list, and macOS will automatically reconnect to it when your session starts.
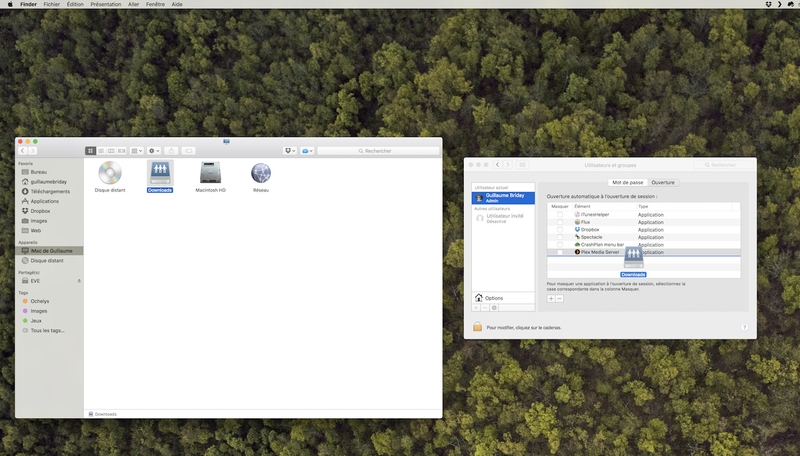
And that's it! You're all set, and you no longer need to worry about mounting your drive every time you start your computer. Now you can, for example, directly use your Plex server hassle-free!
See you next time! :)
