Installing Pi-hole on a headless Raspberry Pi Zero W from scratch


Guillaume Briday
2 minutes
If you want to install Pi-hole on your network, you might be interested in using a Raspberry PI. It's cheap and easy to set up. If you already have a device that can host Pi-hole maybe you don't this at all.
In this post, we will go through all the steps to install Pi-hole on a Raspberry PI Zero W from scratch.
The Raspberry PI Zero W is one of the cheapest Raspberry, it's not powerful, but it's far enough for our needs and the W stands for Wireless, which means we can use WiFi with it, no more ethernet adapter needed, how cool is that?
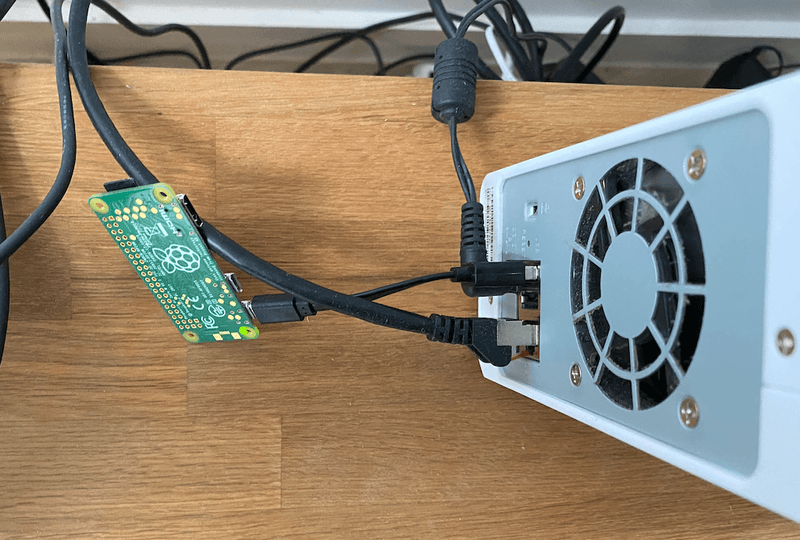
The power consumption is ridiculous, I can use my NAS' USB port.
Requirements
Because the setup will be headless, we don't need anything more than the Pi itself, its Micro SD Card and an micro USB cable for power.
- Raspberry PI Zero W - 10€
- Micro SD card - 10€
1. Install Raspbian
We need to install Raspbian, the default and official Operating System for Raspberry.
Open https://www.raspberrypi.org/software/operating-systems/ and download the Raspberry Pi OS Lite image, we don't need all the fancy stuff like desktop.
On macOS, you can use Etcher to flash your image.
$ brew install balenaetcherOpen it and select the .zip file of the Raspbian image you have just downloaded.
Select the SD card and click on Flash!.
You're done! But we still are more few things to do before running it because of the headless environment.
2. Configure SSH
We will need SSH to connect it over the WiFi. It's disabled by default for security reasons.
To enable it, we simply need to create an empty file called ssh (without extension) at the root of the SD Card.
See: Official documentation.
3. Configure WiFi
Also because of the headless environment, we need to configure WiFi before booting the Raspberry Pi.
Create a file at the root of the SD Card called wpa_supplicant.conf and past this in:
ctrl_interface=DIR=/var/run/wpa_supplicant GROUP=netdev
country=<Insert 2 letter ISO 3166-1 country code here>
update_config=1

network={
  ssid="<Name of your wireless LAN>"
  psk="<Password for your wireless LAN>"
}
Don't forget to update the country code, for instance FR, GB or US. And define the ssid and the psk (password) of your wireless Network.
Be careful, it only works with 2.4GHz, not 5GHz.
See: Official documentation.
You can now eject the SD Card, and boot your Raspberry PI up.
4. Connect to the Raspberry PI
If everything went well, you should be able the find the Raspberry PI on your network.
Open your router settings and assign a static IP address in the DHCP options for the Raspberry PI because we will use it in our DNS settings.
$ ssh pi@<rpi-ip-address>The default password is raspberry.
5. Upgrade your system
$ sudo apt update
$ sudo apt upgrade
6. Install Pi-hole
To install Pi-Hole, run this command:
$ curl -sSL https://install.pi-hole.net | bashTo change the dashboard password from command line:
$ pihole -a -pFind the dashboard at this address: http://<rpi-ip-address>/admin/
See: Official documentation.
7. Change your DNS settings
There are two possibilities.
You can change it in your router settings, so every devices on the network will use Pi-hole.
Or you can change it per device.
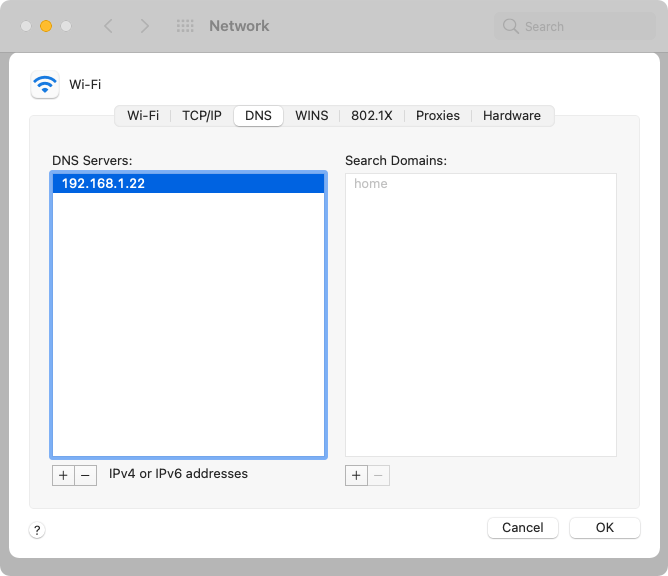
For instance, on macOS, open the System Preferences -> Network -> Advanced -> DNS, and keep only the IP address of your Raspberry PI:
Conclusion
You can now enjoy ad free Web or mobile App experience!

