~/articles/how-to-use-claude-code-from-your-iphone-with-tailscale-and-termius
How to use Claude Code from your iPhone with Tailscale and Termius
 Guillaume Briday
Claude Code runs in a terminal, on your machine, with your files and your git repositories. That’s exactly what makes it good, and also what ties you to your laptop.
But a lot of the time, you don’t need to be at your desk. You want to kick off a long task before leaving, check on it from the train, or fix a one-line typo you noticed while doing something else entirely. Waiting until you’re back in front of your Mac for that is frustrating sometimes.
A terminal is the most remote-friendly interface ever invented, and your iPhone is perfectly capable of talking to one.
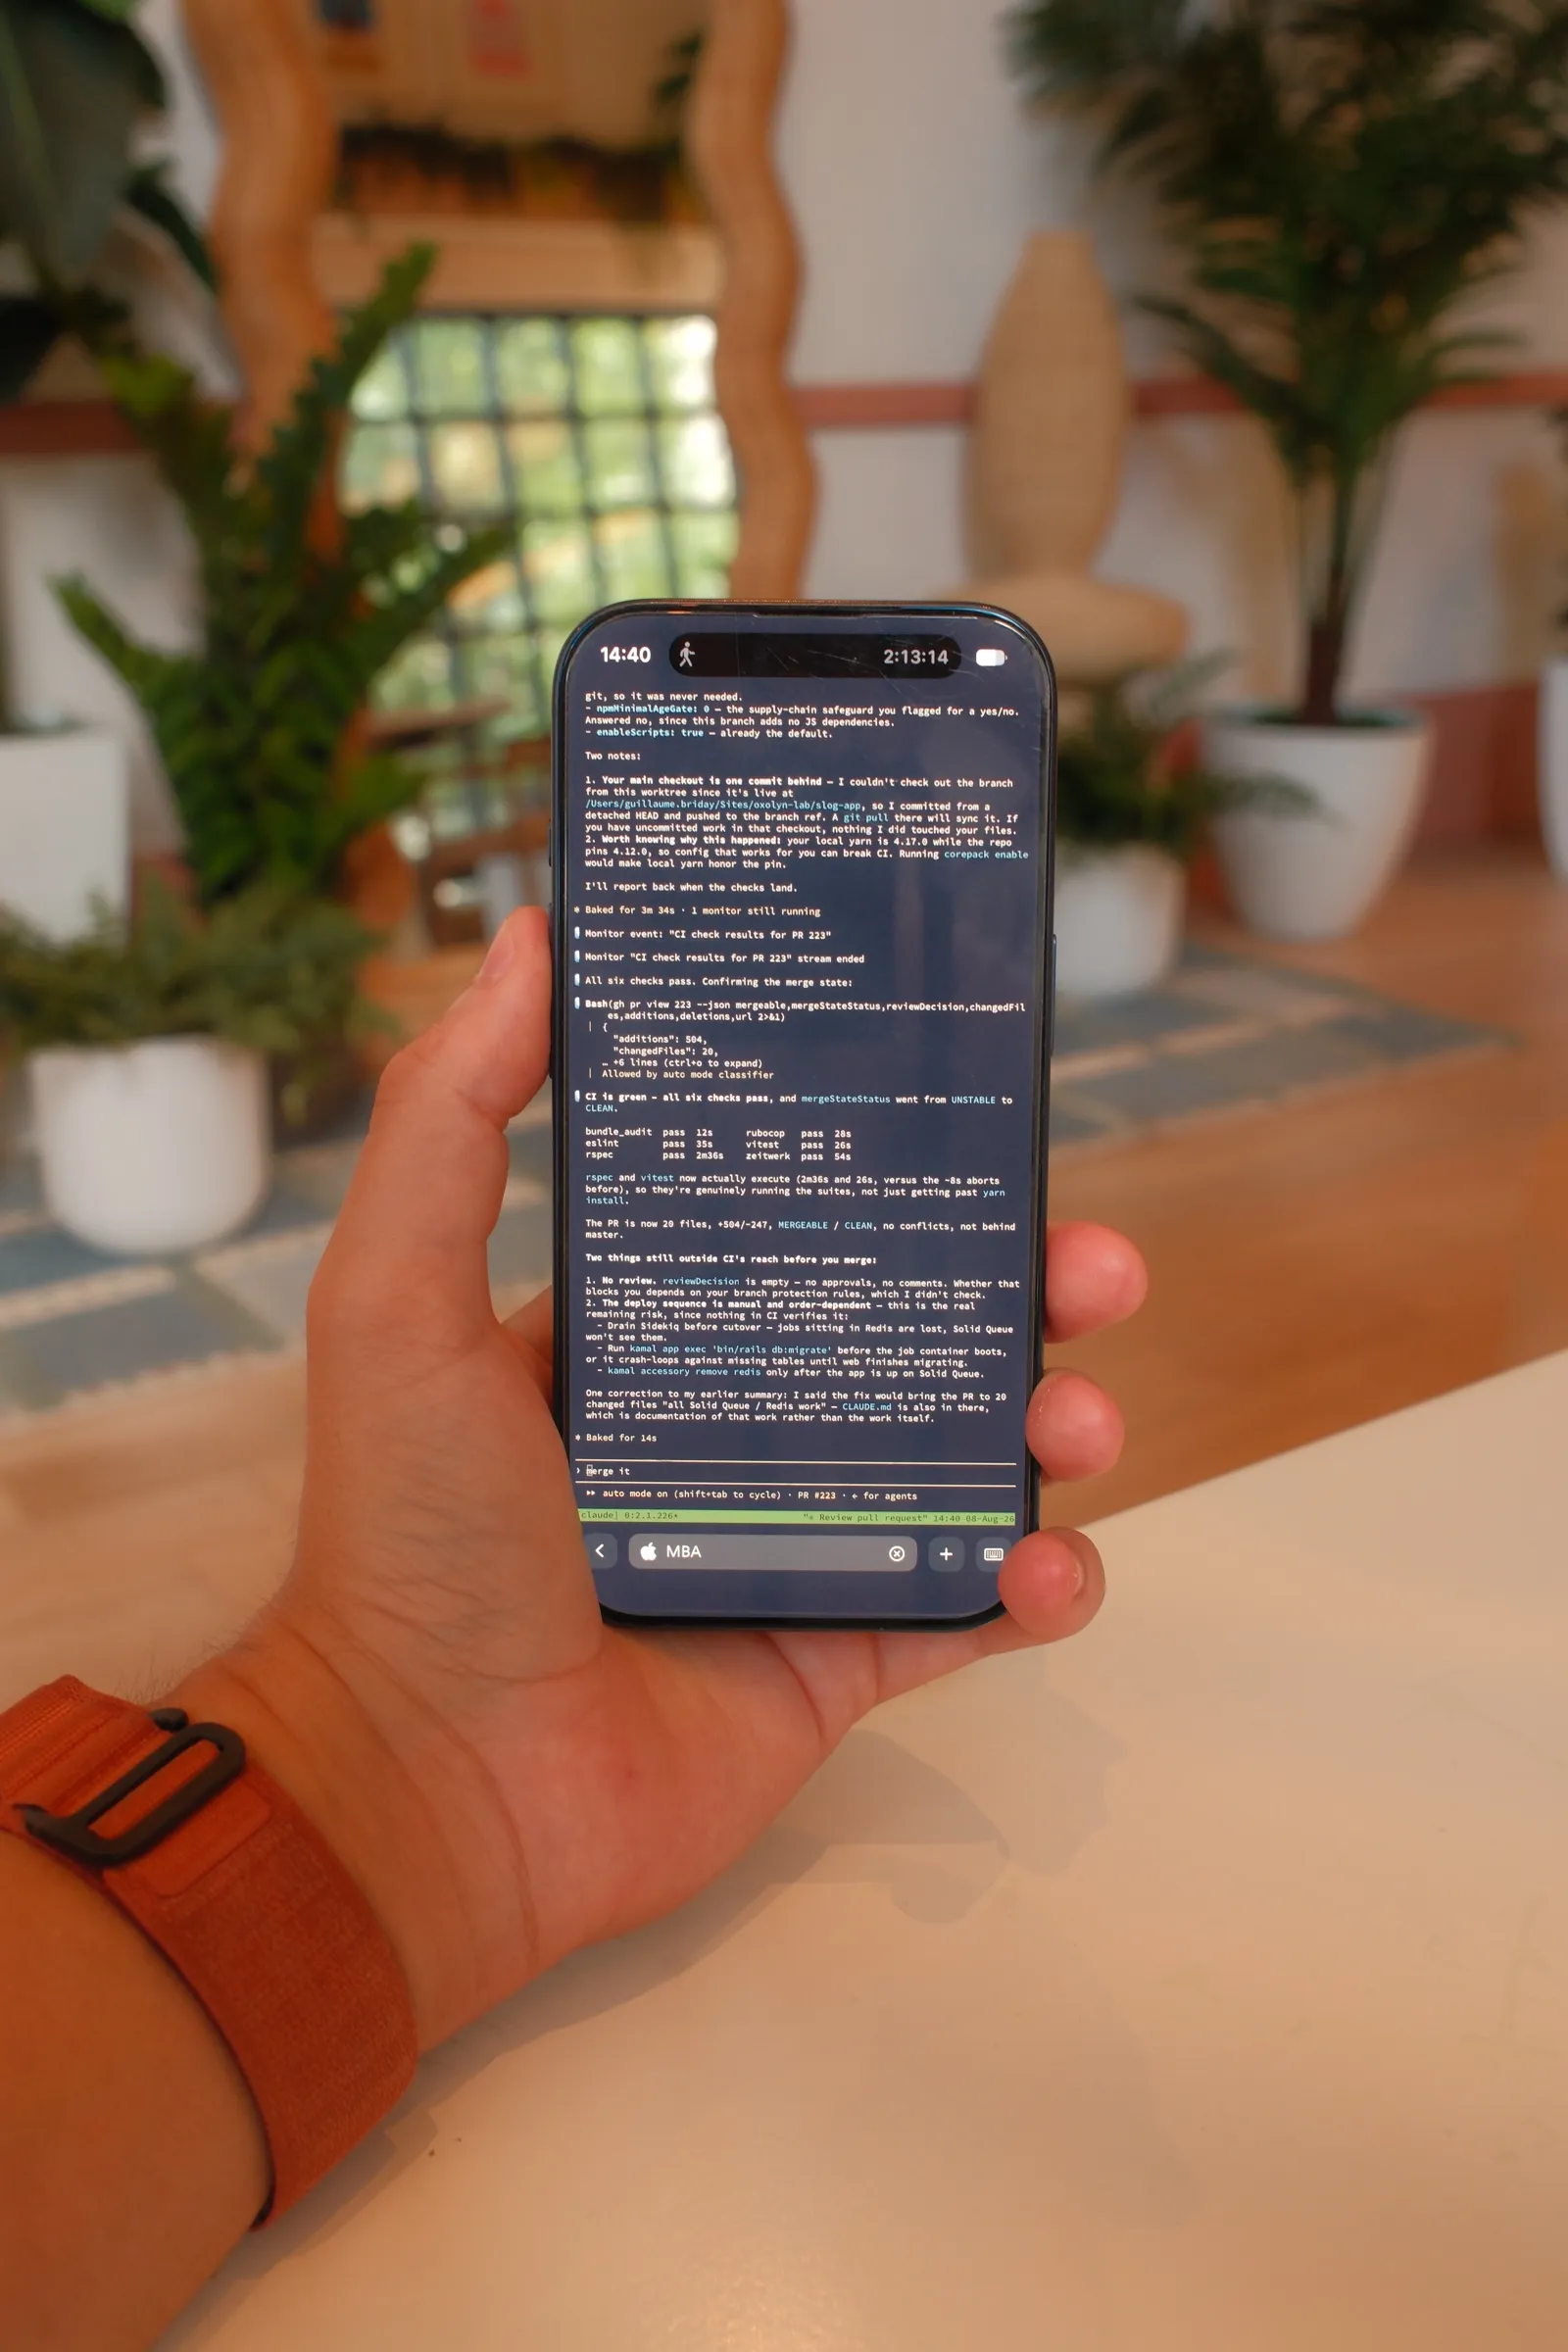
By the end of this post, you’ll open Termius from anywhere, land straight back in the Claude Code session still running on your Mac, and pick up exactly where you left it.
In this post, we’ll see how to:
- Put your Mac and your iPhone on the same private network with Tailscale
- Reach your Mac over SSH, with the server macOS already ships with
- Keep Claude Code running when your phone locks, thanks to tmux
- Keep your Mac awake with
caffeinate - Make Termius pleasant enough to type in
Nothing here is exposed to the internet. No port forwarding, no dynamic DNS, no reverse proxy. Your Mac stays behind your router exactly as it is today.
##Requirements
- A Mac that stays home and powered on
- An iPhone
- A Tailscale account, the free plan is more than enough
- Termius on the iPhone
##1. Install Tailscale on the Mac
Tailscale is a mesh VPN built on WireGuard. Every device you log in with joins the same private network, called a tailnet, and gets a stable IP and hostname, wherever it is in the world.
There are three different Tailscale apps for macOS and they are not equivalent. The one from the Mac App Store is sandboxed, which limits what it’s allowed to do on the machine. We want the Standalone variant, which is the one Homebrew installs:
$ brew install --cask tailscale-appIf you’re curious about the differences, see Three ways to run Tailscale on macOS.
Log in, then install the CLI integration from the app settings. It creates a CLI so you can use the command directly:
$ tailscale statusCopy the Tailscale IP of your Mac while you’re here, you’ll need it to connect from the phone:
$ tailscale ip -4
100.x.x.x
That address belongs to the tailnet, so it stays the same wherever the Mac is and whatever Wi-Fi it’s on.
##2. Install Tailscale on the iPhone
Install Tailscale from the App Store, log in with the same account, and enable the VPN.
That’s it. Your phone and your Mac can now reach each other over cellular, over a hotel Wi-Fi, from anywhere.
You can check it from the Mac:
$ tailscale status
100.x.x.x   mac-mini    guillaume@ macOS   -
100.x.x.x iphone guillaume@ iOS active; direct##3. Enable SSH
macOS ships with an SSH server, it’s just turned off. Enable it in System Settings → General → Sharing → Remote Login, or from the command line:
$ sudo systemsetup -setremotelogin onWhile you’re in that panel, allow only the users who actually need it instead of leaving it open to everyone on the machine.
Your macOS account password is all you need to log in, so there’s no key to generate, copy or keep in sync.
Remote Login listens on every interface, so your Mac also answers on your local network. Nothing is exposed to the internet. No port is forwarded on your router, and from anywhere else Tailscale is the only way in.
##4. Install tmux
This is the part people skip, and then wonder why their session died.
An SSH connection from a phone is fragile. You lock the screen, you go through a tunnel, you switch from Wi-Fi to 5G, the app gets backgrounded for too long. Every one of those kills the connection, and with it, whatever Claude Code was doing.
tmux runs your shell in a session that lives on the server, completely independent from your connection. Disconnect, reconnect ten minutes later, everything is exactly where you left it, including a task that kept running in the meantime.
$ brew install tmuxCreate a session:
$ tmux new -s claudeDetach with Ctrl-b then d, reattach with:
$ tmux attach -t claudeIn practice you only ever need this one, which attaches to the session if it exists and creates it otherwise:
$ tmux new -As claude##5. Keep the Mac awake
A sleeping Mac is not a very useful SSH server. macOS ships with caffeinate for exactly this, so there’s no third-party tool to install and nothing to configure.
Run it on its own and it holds the Mac awake until you stop it with Ctrl-C:
$ caffeinate -sA dedicated tmux window is a good place to park it, so it keeps running after you disconnect and you can come back and kill it whenever you want.
-s is the only flag you really need here. It prevents the system from sleeping while on AC power, which is exactly the behaviour you want for a machine that stays home and stays plugged in.
Your energy settings are never modified, the Mac goes back to its usual behaviour the moment the process dies.
Two caveats. On a laptop, caffeinate does not prevent sleep when you close the lid. If your Mac is a MacBook that lives closed on a shelf, keep it plugged in and connected to an external display, or use pmset instead.
And if you use FileVault, a reboot leaves the Mac stuck at the login screen and off the network until someone types the password. There’s nothing you can do about that remotely, so don’t count on rebooting from your phone.
##6. Configure Termius
Termius is, in my opinion, the nicest SSH client on iOS. The free plan covers everything we need to connect.
Add a new host:
- Hostname: the
100.x.x.xaddress from step 1 - Port:
22 - Username: your macOS username
Fill in your macOS password, make sure the VPN is enabled on the phone, then connect.
Your Mac’s password now lives in the app, so turn Face ID on in Termius’ security settings. Anyone who gets your unlocked phone gets a shell on your machine otherwise, and that’s a bad afternoon.
A few settings are worth changing right away, because the defaults are not made for a 6-inch screen:
- Enable the additional keys row. You need
CtrlandEscconstantly, forCtrl-C, for the tmux prefix, and for Claude Code itself. Without that row you’re stuck. - Bump the font size and pick a narrower font. Small gains in readability go a long way here.
- Use landscape mode for anything involving diffs. Reviewing a patch in portrait is a losing battle.
Snippets are the other thing that makes this bearable. They’re saved commands you fire with a single tap instead of typing them out. Mine is the one I’d otherwise type at every connection:
tmux new -As claudeTermius can also run a snippet automatically right after a connection opens, so connecting to the host drops you straight into the tmux session with Claude Code already attached. That’s the whole workflow reduced to one tap.
Note that snippets are part of the Pro plan, and so is syncing your hosts and keys between your Mac and your phone. The free plan connects fine, you’ll just be typing those commands yourself.
##And the typing?
Typing prompts on a phone is the obvious weak point, and honestly, dictation solves most of it. Long, rambling prompts are exactly what Claude Code handles well, and exactly what voice input is good at producing. Tap the microphone, describe what you want, send.
For the rest, keep your expectations reasonable. This setup is great for starting a task, answering a question Claude is stuck on, checking some output, making a small fix. It’s not where you’re going to do a large refactoring, and that’s fine.
##Conclusion
None of this is Claude Code specific, by the way. Once it’s set up, your whole development machine is a tap away, wherever you are.
That’s it for this blog post, hope you found it helpful! Happy coding! 🚀